ADVERTISEMENT
Introduction
There’s something incredibly satisfying about making your own butter at home. Not only does it allow you to control the quality and flavor, but it also connects you with a timeless kitchen tradition. With just one main ingredient and a few simple steps, you can enjoy fresh, creamy butter that’s far superior to store-bought versions. Whether you’re a homesteading enthusiast or just curious about DIY dairy, this easy homemade butter recipe is a must-try!
Ingredients
2 cups heavy cream (preferably organic or from grass-fed cows)
A pinch of salt (optional, for taste)
Cold water (for rinsing the butter)
Directions
Chill Your Tools: For best results, ensure your mixing bowl and beaters are slightly chilled.
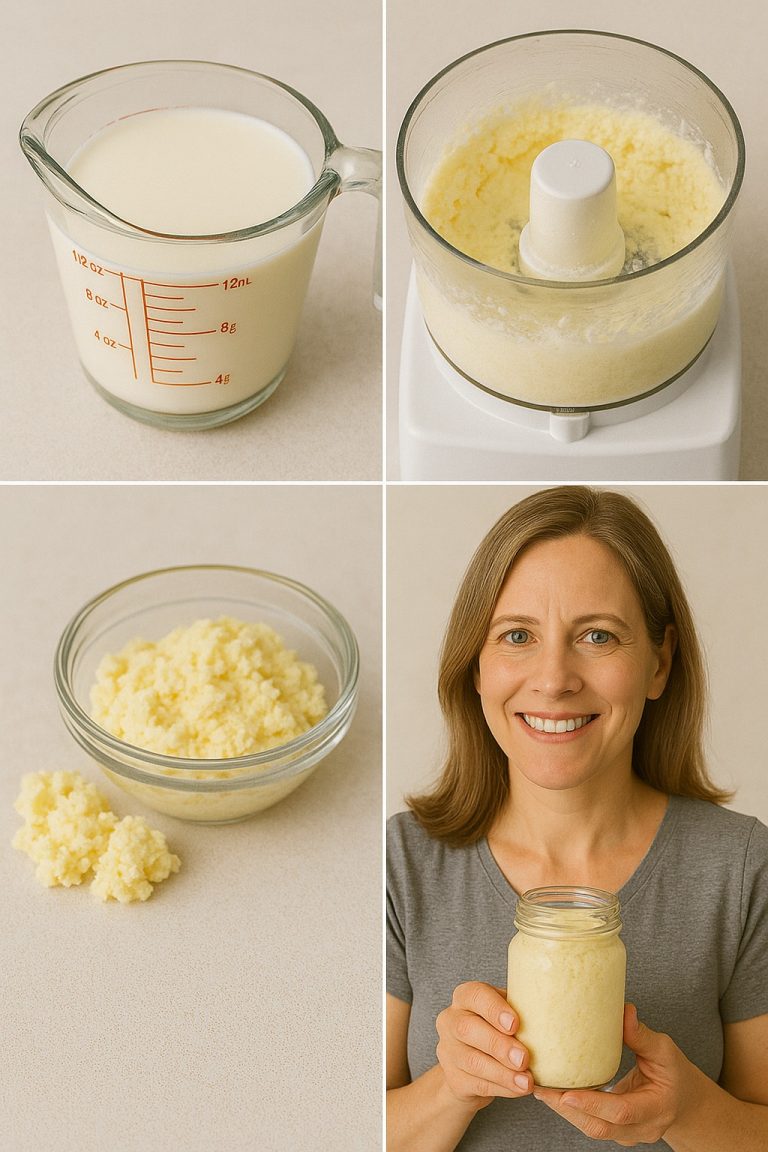
Whip the Cream: Pour the heavy cream into a stand mixer or a large bowl if using a hand mixer. Start beating on medium-high speed.
Watch for Stages: First, the cream will turn into whipped cream. Keep going until the butterfat separates from the buttermilk. This usually takes 8–10 minutes.
Drain the Buttermilk: Once separation occurs, pour off the liquid (save it—this is fresh buttermilk!).
Rinse the Butter: Add cold water to the bowl with the butter. Gently knead with a spatula or your hands to remove any remaining buttermilk. Repeat rinsing 2–3 times until the water runs clear.
Add Salt (Optional): Mix in a pinch of salt if desired.
Shape and Store: Shape the butter into a ball or log. Wrap it in parchment or place in an airtight container.
Serving and Storage Tips
Serving: Spread your homemade butter on warm bread, melt it over steamed vegetables, or use it in baking for a rich, natural flavor.
Storage: Store in the fridge for up to 1 week, or freeze for up to 3 months. Be sure to wrap it well to avoid absorbing other fridge odors.
Variations
ADVERTISEMENT
